The DBA Tools tab
The DBA Tools panel lets you use system-level tools to investigate errors, check for schema consistency errors, rebalance storage across your cluster’s disks, look at detached parts, drop unused tables, and other useful tasks in your ClickHouse® cluster.
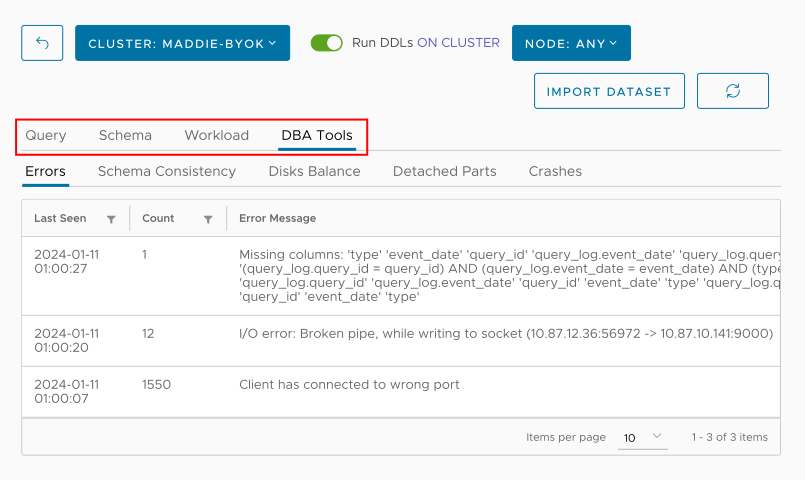
Figure 1 - The DBA Tools tab
It has eight subtabs:
- The Errors tab - Displays details for errors that have occurred.
- The Schema Consistency tab - Shows any schema inconsistencies.
- The Disks Balance tab - Graphs the disks used by your ClickHouse cluster, with the option to rebalance them.
- The Detached Parts tab - Lists any detached parts in your ClickHouse cluster.
- The Crashes tab - Provides details on any crashes in your ClickHouse cluster.
- The Audit Report tab - Lets you create audit reports on your system or look at any previous reports.
- The Unused Tables tab - Shows you tables that haven’t been used in a while.
- The System Tables tab - Lets you examine and modify tables in ClickHouse’s
systemdatabase.
The Errors tab
The Errors tab, as you would expect, displays any errors that have occurred:
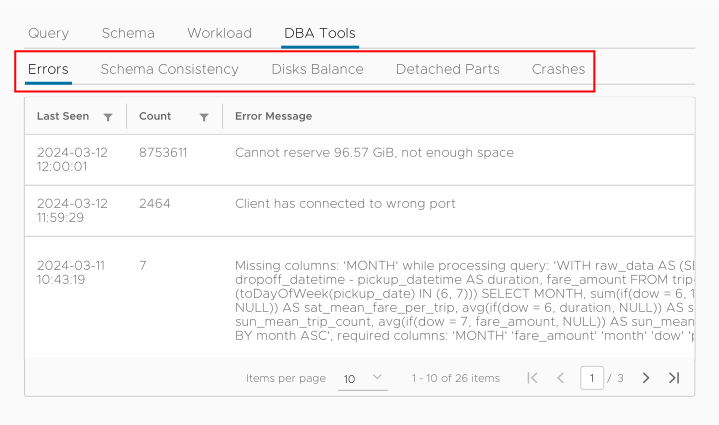
Figure 2 - The Errors tab
Details include the last time an error occurred, how many times it has occurred, and the error message.
The Schema Consistency tab
The Schema Consistency tab displays any schema consistency issues. Hopefully you have no issues and see this:
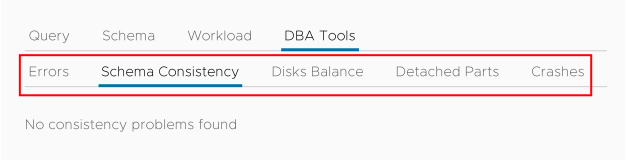
Figure 3 - The Schema Consistency tab
The Disks Balance tab
The Disks Balance tab has two tabs itself: The Distribution tab, which shows all of the disks in your ClickHouse cluster and how much free space is available on each, and the Rebalance tab, which lets you rebalance your data among your cluster’s disks.
The Distribution tab displays a graph of your disks and how much free space is available on each:
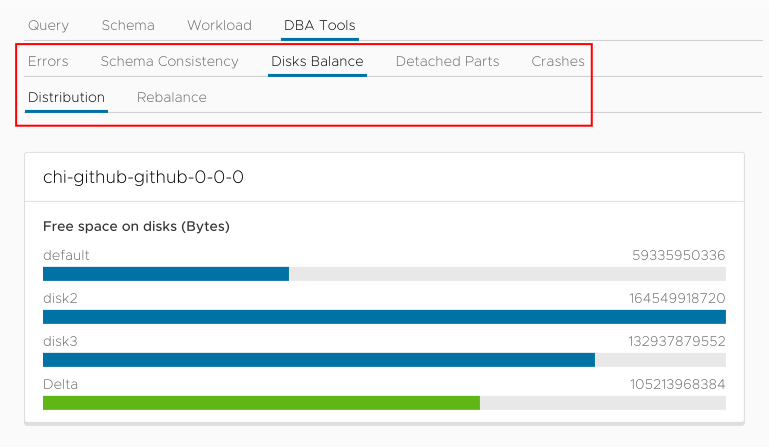
Figure 4 - The Rebalance subtab of the Disks Balance tab
The Rebalance tab lets you, well, rebalance your data:
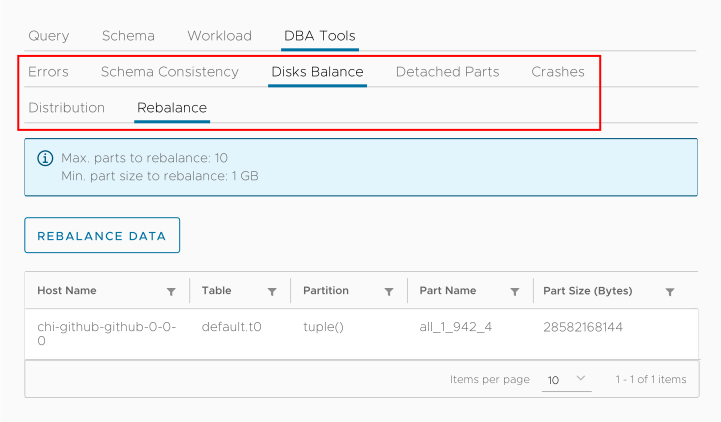
Figure 5 - The Rebalance subtab of the Disks Balance tab
Clicking the  button rebalances the cluster’s disks. You should only rebalance your disks if you’ve gotten an alert that one of your disks is nearly full and you have at least one disk with plenty of space. Note that the ACM will not rebalance your disks if none of them have significant free space, and it will not rebalance the disks unless a significant amount of storage is involved.
The Detached Parts tab
The Detached Parts tab displays any detached parts in your ClickHouse cluster.
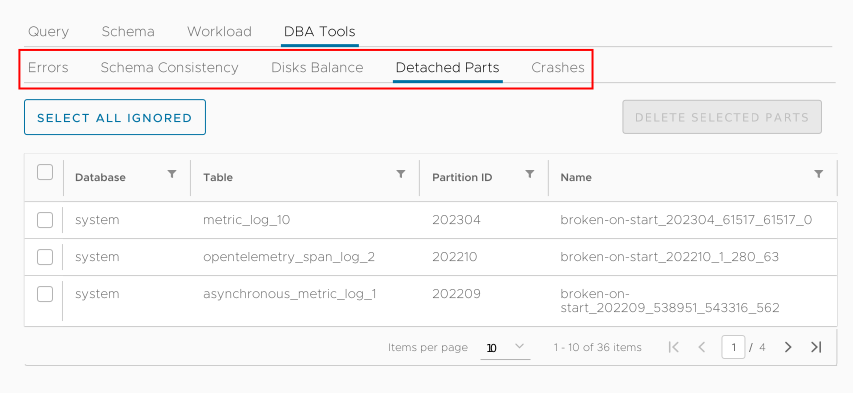
Figure 6 - The Detached Parts tab
Selecting one or more parts activates the  button.
See the Altinity Knowledge Base article on Detached Parts for more information.
The Crashes tab
The Crashes tab displays the details of any crash that may have occurred:
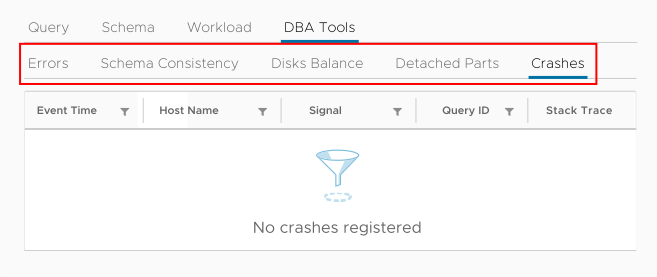
Figure 7 - The Crashes tab
[ClickHouse rarely crashes, so we don’t have an example to show here.]
The Audit Report tab
The Audit Report tab lets you create new audit reports and lists any reports previously created:
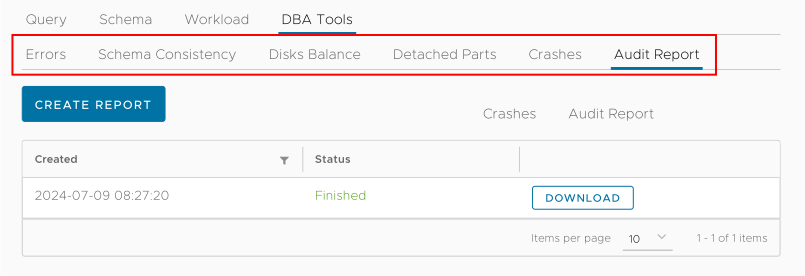
Figure 8 - The Audit Report tab
Clicking the  button creates a new report. Clicking the
  button downloads an HTML file to your machine. The report format is straightforward:
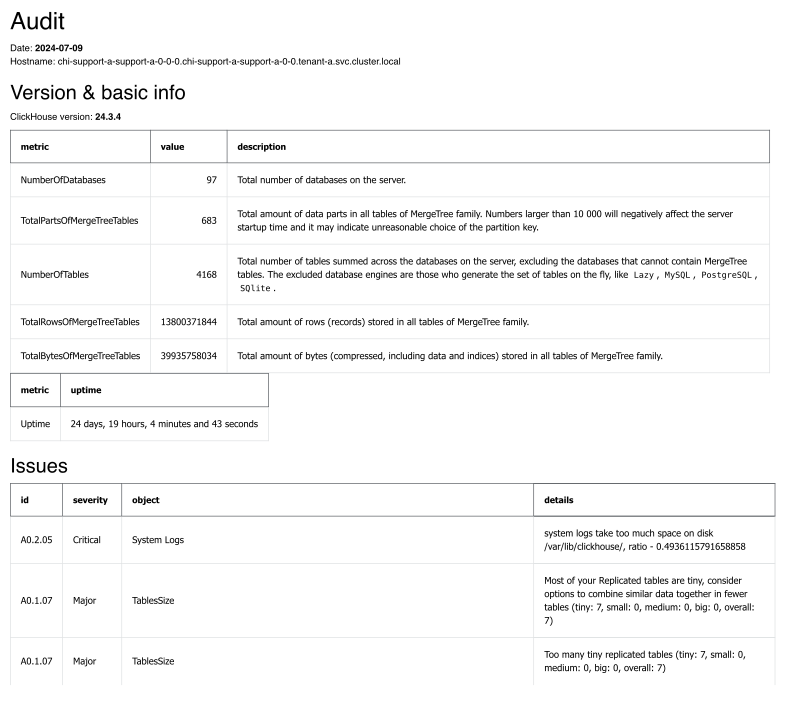
Figure 9 - A sample Audit Report
If you’re inclined to print the report, be aware that it may be hundreds of pages long.
The Unused Tables tab
The Unused Tables tab gives you a list of tables that have not been queried in some time:
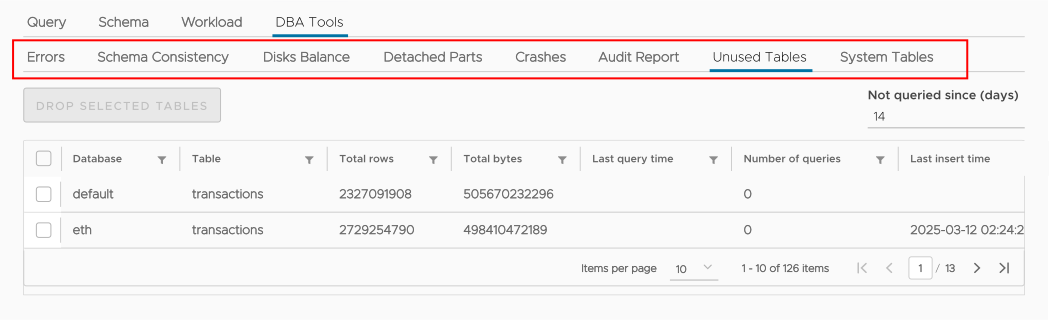
Figure 10 - The Unused Tables tab
By default the table shows unused tables over the last 14 days, although you can enter a different number of days in the Not queried since (days) field to change the criteria. Deleting unused tables is a great way to save on storage costs.
Selecting one or more tables activates the  button.
The System Tables tab
The System Tables tab lets you work with, well, system tables:
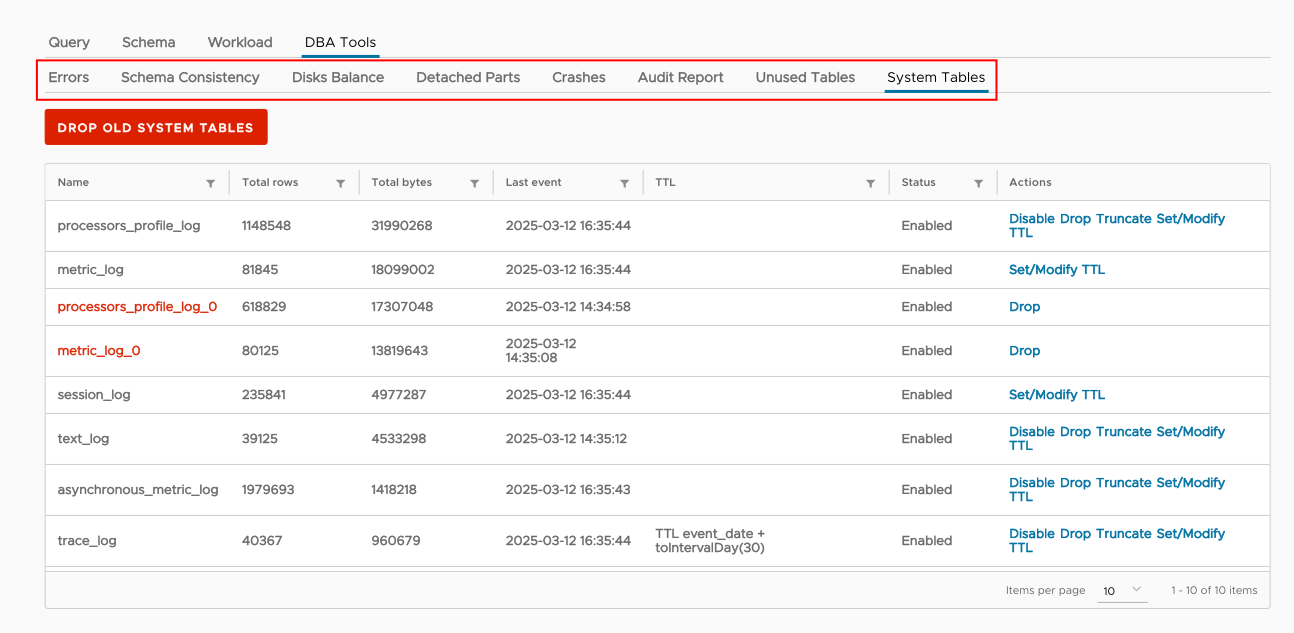
Figure 11 - The System Tables tab
Tables listed in red are old system tables; you can click the  button to delete them.
The Actions column on the right lets you perform certain operations on the table:
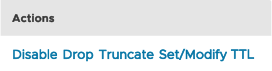
Figure 12 - Actions available for system tables
The actions available to you vary according to your role and the properties of the table. Here are the details for the complete list:
- Disable - The table will not be deleted, but it will not be available for queries, and no new data will be written to the table. Disabling a system table will cause a rolling restart on the cluster. You’ll see this confirmation dialog:
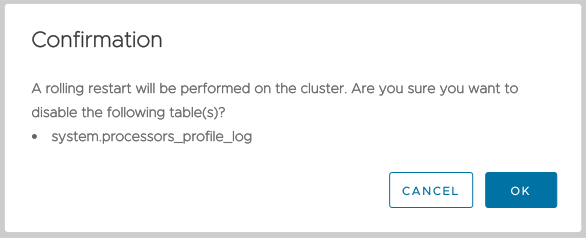
Figure 13 - Confirmation dialog for disabling a system table
- Drop - The table will be deleted. You’ll see this confirmation dialog:
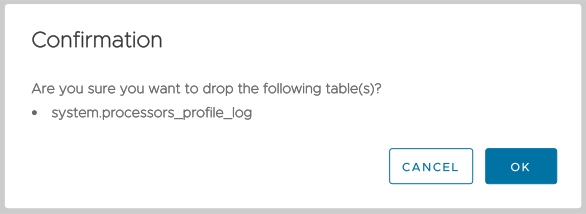
Figure 14 - Confirmation dialog for dropping a system table
- Truncate - The table will be truncated. You’ll see this confirmation dialog:
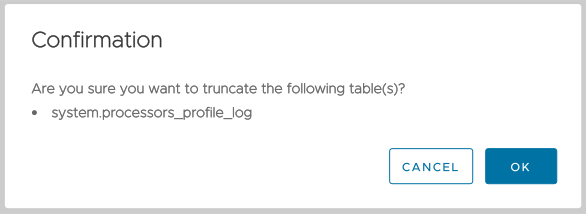
Figure 15 - Confirmation dialog for truncating a system table
- Set/Modify TTL - You can set or change the TTL (time to live) setting for data in this table. You’ll see this dialog:
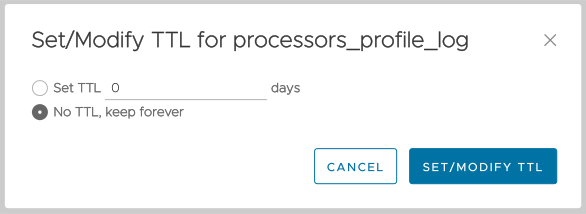
Figure 16 - The Set/Modify TTL dialog for system tables
You can set the number of days data should be kept, or you can disable TTL altogether. See the ClickHouse TTL documentation for complete details on TTL.